[flexy_breadcrumb]
My All Time Favorite Holiday Treat - No Bake Chocolate Bonbons
This post may contain affiliate links. Please read my disclosure policy.
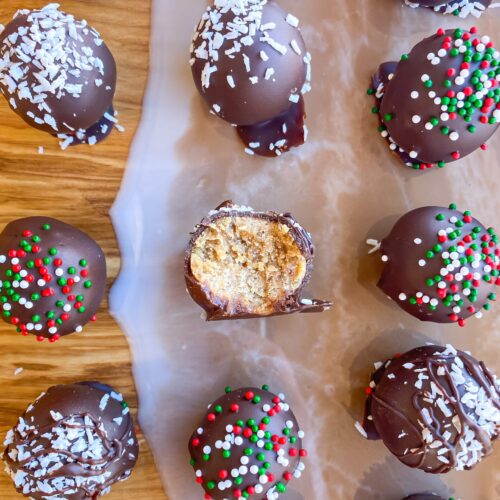
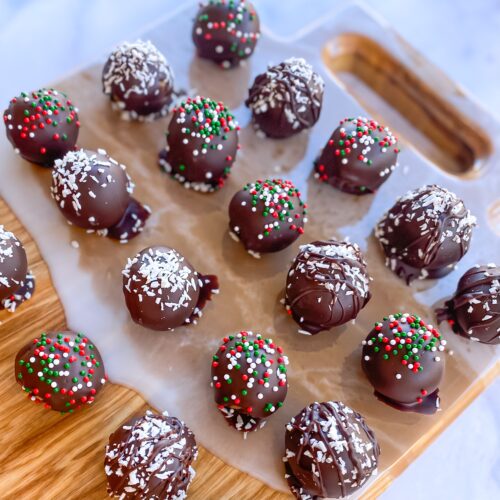
These chocolate bon bons have been a part of my family’s holiday tradition for as long as I can remember! The original recipe comes from my mom and was full of sugar, butter, conventional peanut butter, and Crisco. So, I revamped it and now they’re paleo, gluten free, vegan, and 100% delicious!
I have a huge sweet tooth, so it’s nice to know I can enjoy the flavors of my childhood without all of the digestive issues that would come from the original recipe. My husband absolutely loves these so I always make a double or triple batch and keep them frozen for whenever a craving strikes for something sweet.
Be well, stay, real — Rach

Ingredients
1 cup nut butter (I like doing a 50/50 blend of almond and cashew)
1/2 cup nut flour (I use almond since I do an almond butter base)
1/4 cup + 1 Tbsp coconut oil
1/4 cup each of maple syrup and coconut sugar
Pinch of salt
2 cups paleo chocolate chips like Hu Kitchen
Optional: Shredded coconut or sprinkles for topping

Directions
Begin by pulverizing the coconut sugar in the blender to make “powdered sugar”
In a large bowl, add nut butter and coconut oil (except the 1 Tbsp) and microwave until coconut oil is melted and mix well.
Add remaining ingredients, except chocolate chips and 1 Tbsp coconut oil, and mix until the batter comes together. Refrigerate for at least 30 minutes.
Line a baking sheet or plate that will fit in your freezer with wax paper.
Remove batter from fridge and scoop into balls using a mini ice cream scoop (I promise the scooper is worth the investment!). Freeze bon bons for at least an hour to ensure they won’t fall apart in the hot chocolate dip.
In a small bowl, melt together the chocolate chips and 1 Tbsp of coconut oil by doing 30 second intervals in the microwave, stirring between each round until the chocolate is smooth and melted.
Using a dinner fork, place a bon bon in the melted chocolate and roll until completely covered. Scoop up the bon bon on the fork and gently tap on the side of the bowl to allow excess chocolate to run off so an even coating is left.
Place bon bon back on the wax paper and immediately top with shredded coconut or sprinkles while the chocolate is still wet.
Once all bon bons are coated, return to the freezer for 30 minutes until the chocolate shell has completely hardened.
Enjoy immediately, store in the fridge for a week, or freeze for up to a month.
I hope you enjoyed this recipe! If you did, I’d mean the world to me if you saved it on Pinterest, recommended it to a friend, gave me a follow on Instagram, or left a review for the recipe below! Have a question, comment, or request for an upcoming post? Drop me a line in the comments!


